 Save
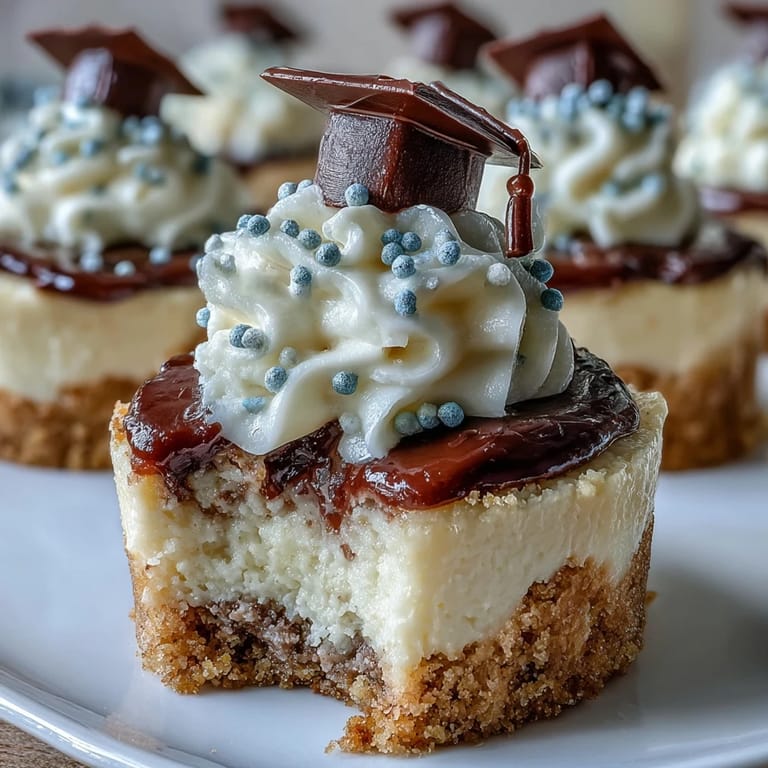
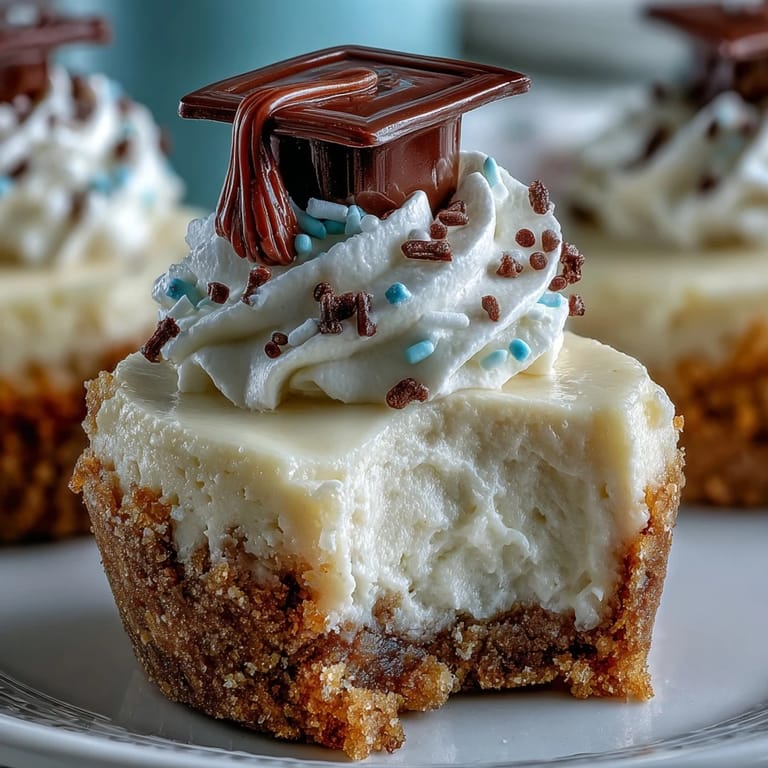
Save The sound of laughter and the clink of plastic graduation caps on the countertop filled my kitchen as I put together a tray of these cheesecake bites for my cousin’s big day. I remember wondering if making individual desserts instead of a full cake would feel too fussy, but as the first batch cooled, I realized how charming—almost playful—they looked all lined up. There’s something instantly cheerful about dessert you can eat in two bites, and these mini cheesecakes became the star of the spread before the ceremony had even begun. Even my usually reserved uncle reached for a second with a sly grin, and I took that as the highest compliment.
One spring evening, with balloons tied to the kitchen chairs and my little brother impatiently peeking in the oven, we found ourselves debating which sprinkle colors best suited the graduate. In that moment, fussing with homemade caps and giggling over tiny details, I realized these bites turned baking into a celebration long before dessert was actually served.
Ingredients
- Graham cracker crumbs: This forms the buttery base—press them in firmly for a crust that stays neat, even in little wrappers.
- Granulated sugar: A touch lifts both the crust and the filling, and I found sifting it in prevents lumps in the batter.
- Unsalted butter: Melted, it binds the crust and gives richness; I sometimes let it cool just a little so it blends smoothly.
- Cream cheese: The heart of the cheesecake—soften it fully for that famously creamy texture.
- Eggs: Help the filling set up as tiny, velvety clouds; add one at a time for best results.
- Pure vanilla extract: A splash wakes up all the dairy flavors—I once forgot it and immediately noticed the difference.
- Sour cream: Just enough tang makes each bite bright and balances the sweetness.
- Salt: A tiny pinch, but it brings out the rest of the flavors beautifully.
- Whipped cream and festive toppings: My favorite finishing touch—decorate simply or go wild depending on your crowd.
- Fresh berries: If you want a little burst of color and tartness, they’re always a hit.
Tired of Takeout? 🥡
Get 10 meals you can make faster than delivery arrives. Seriously.
One email. No spam. Unsubscribe anytime.
Instructions
- Get your pan party ready:
- Preheat the oven to 325°F (160°C) and line your mini muffin tin with paper liners—it’s the secret to fuss-free serving later.
- Mix and press the crust:
- Stir together the graham cracker crumbs, sugar, and melted butter until it feels like wet sand, then press about a tablespoon into each liner, smoothing the tops with the back of your spoon.
- Bake your bases:
- Pop the tray into the oven for 5 minutes until set; this step makes sure your crust holds up under that creamy filling.
- Whip up the filling:
- Beat softened cream cheese until it’s smooth, then add sugar and mix until fluffy. Crack in the eggs one at a time, pour in vanilla and sour cream, sprinkle in the salt, and give it all a final gentle mix—don’t overbeat or you’ll lose that silky texture.
- Fill and bake:
- Spoon the batter evenly into the crusts, filling nearly to the top, and bake for 13–15 minutes—the centers will jiggle ever so slightly when ready.
- Cool things off:
- Let the bites cool in the pan for 10 minutes before transferring to a wire rack, then chill them in the fridge for at least half an hour so they’re easy to top and serve.
- Decorate and celebrate:
- Right before serving, pipe or dollop on whipped cream and add your festive decorations—don’t forget a few berries if you like a tart snap.
 Save
Save Watching everyone come back for seconds, with smudges of whipped cream and the echo of congratulations still in the air, these mini cheesecakes somehow felt like part of the graduation memories themselves—not just dessert, but a little edible celebration in hand.
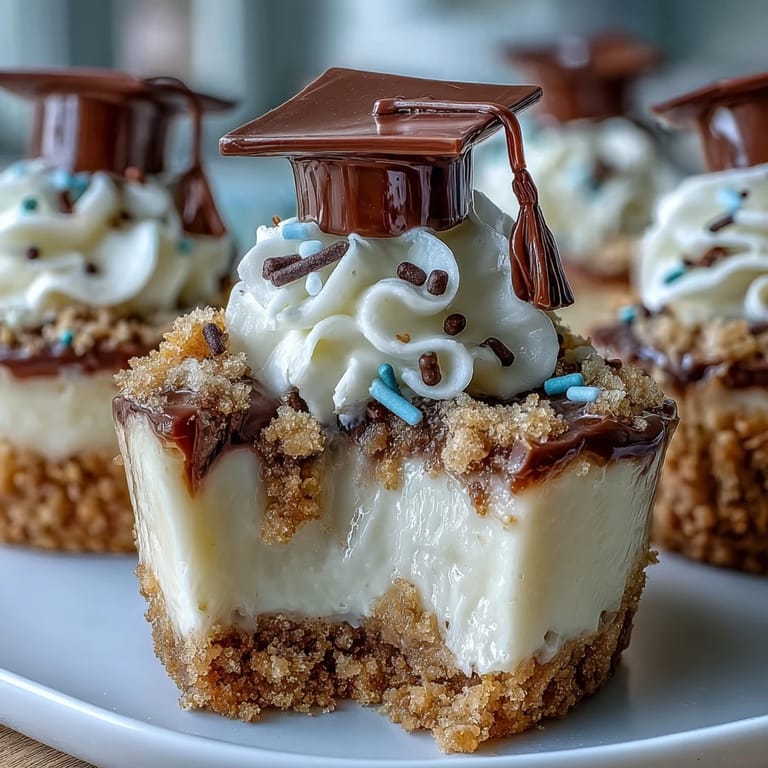
Creative Topping Ideas for Graduation
Sometimes, getting the kids involved in making chocolate ‘caps’ from squares and licorice is half the fun—there’s really no wrong answer when it comes to decorating. I’ve even let guests customize their own with berry coulis, sprinkles, or crushed cookies at the serving table.
Making These Bites Ahead of Time
On busy party days, I always prepare the cheesecakes a day in advance—chilling overnight guarantees they’ll be set and creamy. Just store them topped only with a little parchment or plastic wrap, then decorate right before serving for the freshest look.
My Favorite Serving Tricks for Parties
I once arranged them on a mismatched cake stand and tiered plates for a joyful, ‘help yourself’ feel. Letting everyone pick their favorite topping was a surprising conversation starter, especially for guests meeting for the first time.
- If you’re transporting, keep them cold in a portable cooler.
- Line the serving tray with a few extra sprinkles or berries for a colorful effect.
- For quick serving, loosen each bite gently with a butter knife first.
 Save
Save I hope these little cheesecakes add just a bit more sweetness and fun to your next graduation gathering. There’s something wonderful about sharing small bites that feel big on celebration.
Recipe FAQs
- → How do I prevent cracks in the mini cheesecakes?
Beat the cream cheese until smooth and avoid overmixing once eggs are added; bake just until centers are set with a slight jiggle. Cooling gradually in the pan helps prevent sudden temperature shocks that cause cracks.
- → Can I make the crust chocolate instead?
Yes—swap graham crumbs for finely crushed chocolate sandwich cookies and mix with melted butter the same way for a rich chocolate base that pairs well with cream cheese filling.
- → How far ahead can these be prepared?
Fully bake and chill the bites up to 24 hours in the refrigerator; wait to add whipped toppings or delicate garnishes until just before serving to keep them fresh and decorative.
- → Any tips for filling the liners evenly?
Use a small spoon or a piping bag to distribute batter evenly; filling each cup nearly to the top ensures consistent sizes and even baking across all 24 bites.
- → How should I store leftovers?
Store cooled and chilled bites in an airtight container in the refrigerator for up to 3 days. For longer storage, freeze without whipped toppings and thaw overnight in the fridge before finishing.
- → What are quick decorative ideas for a graduation theme?
Top with a swirl of whipped cream and scatter festive sprinkles, add fresh berries, or create mini chocolate 'caps' using small squares and licorice strings for a playful graduation touch.